
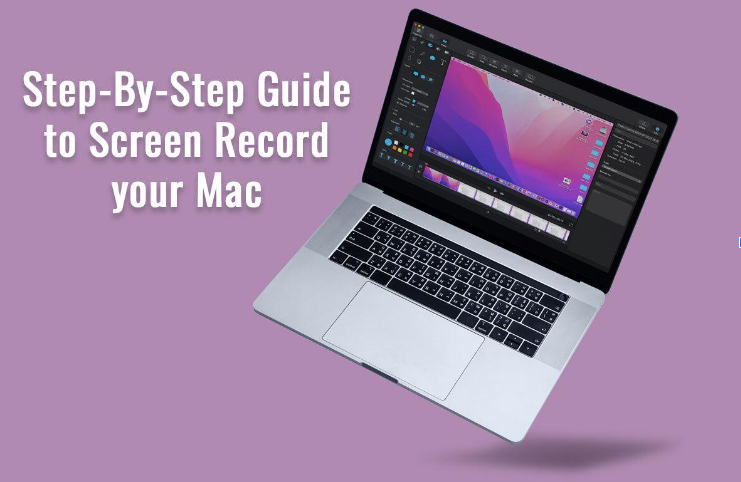
Screen recording on your Mac offers up a world of possibilities, whether you’re a student crafting tutorials, a gamer capturing epic moments, or a tech-savvy troubleshooter addressing issues. Let’s dive into the nitty-gritty of this valuable skill with a simple step-by-step guide.
Table of Contents
ToggleStep 1: Open QuickTime Player
To kick off your screen recording adventure, locate QuickTime Player in your Applications folder. If you’re in a hurry, summon it with Spotlight using Command + Space and typing “QuickTime Player.”
Step 2: Select New Screen Recording from the File menu.
Once QuickTime Player is in the spotlight, head to the top menu and click on “File.” A dropdown menu emerges – seize the opportunity and select “New Screen Recording.”
Step 3: Adjust Your Recording Settings
A tiny recording window, designed to effortlessly capture an app window on MacBook, materializes on your screen. Before diving into the recording frenzy, fine-tune your settings. Click the tiny arrow near the record button. Here, you can tweak microphone inputs, set timers, and play with other recording options.
Step 4: Select Your Recording Area
With your settings in check, hit the red record button. A pop-up grants you the power to choose your recording battlefield. Whether it’s your entire screen or a strategic snippet, the choice is yours.
Step 5: Start Recording
Seal the deal by clicking the “Record” button. A countdown grants you a moment to gather your thoughts. When it hits zero, QuickTime Player springs to action, capturing everything within your selected area.
Step 6: Stop and Save Your Recording
Victorious or content with your recording masterpiece, halt the process by clicking the stop button in the menu bar. QuickTime Player then unveils your creation in a new window. To preserve your magnum opus, navigate to “File” and hit “Save,” choosing a cozy spot on your Mac for safekeeping.
Step 7: Edit Your Recording (Optional)
For those perfectionists out there, QuickTime Player offers basic editing tools. Trim the edges of your recording, making it sleek and polished.
Step 8: Export Your Recording
Ready to share your creation with the world? Head back to “File” and select “Export As.” Choose the format that suits your style and a destination worthy of your masterpiece.
Tips for Successful Screen Recording
Tip 1: Check Your Storage Space
Before embarking on your recording journey, ensure your Mac has ample storage space. Screen recordings can be storage hogs, so a little pre-recording cleanup is always a good idea.
Tip 2: Use Keyboard Shortcuts
Efficiency is the name of the game. Learn and embrace QuickTime Player’s keyboard shortcuts – Command + Control + N for a new recording, Command + Control + Esc to stop, and Command + T to trim.
Tip 3: Test Your Microphone
If your recording involves an auditory masterpiece, check that your microphone is up to the task. Test those audio levels beforehand to dodge any nasty surprises.
Troubleshooting Common Issues
Encountering a glitch in your screen recording experience? Let’s tackle those hurdles head-on.
Issue 1: No Sound in the Recording
Silent movies had their moment, but if your screen recording lacks audio, it’s likely a setting hiccup. Check the microphone settings in QuickTime Player. Ensure the right mic is in the spotlight and the volume levels are singing harmoniously. Don’t forget to cross-check your system sound settings for good measure.
Issue 2: Large File Sizes
Running out of digital real estate due to hefty screen recordings? It’s time for some file size management. Navigate to QuickTime Player’s preferences and tweak the recording quality. Strike a balance that preserves quality without overwhelming your storage.
Issue 3: Recording Lag or Choppiness
Is your recording playing hopscotch instead of smoothly gliding? Processing power might be playing hard to get. Shut down unnecessary applications and background processes to liberate your Mac’s resources. Additionally, dial down the recording quality in QuickTime Player’s settings to put an end to the lag dance.
Advanced Techniques for Screen Recording on Mac
Ready to level up your screen recording game? Let’s explore some advanced techniques.
Technique 1: Using Keyboard Shortcuts for Quick Access
Time is of the essence, and keyboard shortcuts are your secret weapon. Memorize these QuickTime Player gems: “Command + Control + N” for a swift new recording, “Command + Control + Esc” to halt the recording symphony, and “Command + T” to trim your masterpiece.
Technique 2: Utilizing Third-Party Apps for Enhanced Features
QuickTime Player is the hero, but sometimes you need a sidekick. Explore third-party apps like ScreenFlow and Camtasia for a feature-packed recording experience. Expect advanced editing tools, annotations, and effects to sprinkle some magic on your recordings.
Technique 3: Leveraging Time-Lapse Recordings
You can use time-lapse photography for more than simply sunsets. Use QuickTime Player to create a time-lapse recording to expedite drawn-out procedures. The time warp is displayed when you start a new recording and change the speed in the “Options” menu. It is ideal for demonstrating your digital skills or for lessons.
Sharing and Uploading Your Screen Recordings
Done recording? Now, let’s share your masterpiece with the world.
Step 1: Save Your Recording in a Shareable Format
Make sure that the format of your recording is compatible with all platforms before clicking the share button. The MVP is MP4, which maintains quality without generating major compatibility issues.
Step 2: Uploading to Cloud Services
Allow your recording to fly into the cloud of digital images. Upload to cloud storage services like iCloud, Dropbox, or Google Drive. Easily create shareable links or insert your work into websites or presentations.
Step 3: Integrating Screen Recordings in Presentations
Screen recordings may be easily integrated to elevate your presentations. With the majority of presentation software, you may immediately include videos to engage your audience with a more dynamic touch.